warm*holiday*wishes

Now that its 8 days until Christmas and we still have no holiday day card and the “perfect family picture”. I thought I would do ours a little different this year. So here is the truth “captured” in many pictures 🙂

The truth is we are a bit of a hot mess  ….

IMG_0046

summer 2013 106

We are not so sure about Santa and run away screaming-n-all….

IMG_1001

more of a dance-in-our-undies-no-I-am-NOT-wearing-clothing-kinda-kiddos….

jp undies

summer 2013 179

1005716_10200894504957821_268899680_n

IMG_0638

Flip-tumble-Cheerleading….

1000554_10200906054046541_2115959856_n 1441330_10201964726312686_555814862_n

wrestling….

391291_4910244846881_611502090_n

IMG_0779 - Copy

WHAT DO YOU MEAN I HAVE TO GO TO SCHOOL!

IMG_2518

Football loving <3…

IMG_2499

summer 2013 422 IMG_2488 IMG_2437 IMG_2425 IMG_2564 IMG_2567

Kinda Family.

1002301_10201133810900320_1457826488_n

so…

IMG_0099

warm holiday wishes and blessing to each and everyone. & a happy new year ….

(to infinity & beyond)

IMG_0470

Have yourself a merry little Christmas this year 🙂

IMG_0346-001 IMG_0464-001God bless,

The McElroy’s

xoxo

My next makeover project & the weekend

We had a full weekend here.

Between Holiday festivities in town

(A little pre parade fun with Uncle Jon at the Coffee Stop.)

IMG_0488

all the candy they got at the parade (and my kids are still zipping around the house) ….

IMG_0506

I have also been busy making holiday gifts and filling orders.

IMG_0477

So I didn’t get to work much on other projects. I did however find time to play around with my new camera.

The big kids and I went over to my brother in-laws house they helped him decorate the tree and me, I took some pics.

IMG_0530

IMG_0531

His jelly of the month certificate my oldest gave him last year. we just love christmas vacation.

IMG_0524

Some old family decorations ❤ .

IMG_0525

He has a great collections of old books and things.

IMG_0538

and the tree.

IMG_0540

after this I came home and downloaded Kristen Dukes e-book say no to auto. It’s 10$ and worth every penny for a beginner like me.

her book can be found here: http://www.kristendukephotography.com/familyportraits/say-no-to-auto-book/

These dark pictures I snapped at my brother in laws of the kids turned out dark and this prompted the need to learn more.

IMG_0550

Cant wait to share what I have learned. I immediately started looking at the lighting and changing my settings here is on pic I took of the boys tree in their room. After reading Kristen’s book.

IMG_0616

**************************************************************************************************

My Craigslist find.

IMG_0480

She (the chair) has great bones. I have already devised a plan and started making this beauty over. I am stripping the chair with some eco strip I got from my local true value. Will be my first time using a spray bottle with stripper… will take notes and share for sure. I plan to stain this a dark walnut and upolster the top, arms and slip cover the cushion. That makes for easy care with 4 kids. I cannot wait to share. I am taking lots of pics so you too can do yourself.

xoxo

Becky

{Thanksgiving} The day after…

I must admit I have secretly always wanted to score one of those crazy Holiday deals, sorta one those bucket list things *you must stand in crazy lines*fight the huge crowds*and score that deal* sorta thing.  Well we had a wonderful thanksgiving with many memories and laughs and after dinner we set out to conquer walmart and score a TV for the living room. Well we did it was fun and made a “remember when we…..” story. Well I also scored a camera from target the next day. While we did do a little shopping our day was mostly filled with family and spending time at my parents house. Here is a little peek into our day.

Some playing at nana & papa’s…

IMG_0004

My oldest kids went to cut down the tree for my parents its their tradition.

IMG_0028 - Copy

a little napping ….

IMG_0071

decorating the tree at my parents …

IMG_0046

building with Uncle Aaron.

IMG_0057

and a picture of all the grandchildren by the tree. 4 of the 5 I have to claim as mine!

IMG_0093

****************************************************************************************************

As soon as we got back I could not wait to test out a few new settings with my Camera, I ended up going with a Cannon T3. Lots to learn but here are a few pics from around the house…

Our vintage Elf Scout Buckeye, he used to be in mom’s tree as a child and watches over you at Christmas time.

IMG_0106

My Grandfathers hutch he made, I brought it up to date with a timeless worn finish using Chalk and Milk Paint.

IMG_0110

I had added some vintage knobs Aunt Darlene hunted down for me.

IMG_0109 - Copy

My chippy blue dresser. You can read more about it here:

https://junqueinthetrunkgirls.wordpress.com/2013/10/23/chippy-blue-the-process/

IMG_0144and a few sneaks of my newly hand painted piece. I cannot not wait to do a photo shoot with this dresser.

more about this piece here :https://junqueinthetrunkgirls.wordpress.com/2013/11/20/as-simple-as-that/

IMG_0140

I LOVE her legs 🙂

IMG_0141

IMG_0142Today I am enjoying an extra day off at home with my family and decking our halls for the holidays.

IMG_0172

IMG_0176

xoxo,

Becky

linking my new dresser to thrifty decor chick 🙂 Love her blog

http://thriftydecorchick.blogspot.com/


As simple as that

A dear friend saved this dresser for me .

IMG_3326

She (the dresser) was in great sturdy shape but had some scratches on top and splatters of paint all over front.

IMG_3327

This making her a great candidate for paint. I have been dying to do some decorative paint on this piece but the colors I couldn’t decide so she sat in my garage for 2 months … until this weekend I woke up and was motivated to move this piece into my studio in the basement. Still not knowing what color or when I would paint it.

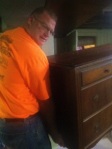
So my dear hubby and sweet brother in law carried her into the basement this past weekend ( yep, in the rain). They look so happy , don’t they ?!

IMG_3323IMG_3324

Well it turns out later Sunday night inspiration was about to strike, you just never know when or how. I make it a rule to not paint or sew before inspiration hits.

Sunday night my sweet neighbors stopped by with a gift basket I had won. They own a sweet little store called Black Dogs Antiques. MY 9 year old and I had stopped their Holiday open house with me on Saturday , she signed me up for the drawing. I am not one of those people who ever win these sorts of things but was so excited Sunday evening when they showed up with a basket full of goodies !!! One of the goodies included Dried Lavender Milk Paint by Miss Mustard Seed.

IMG_3325

Bam!!! that is the perfect color for my project, simple as that.

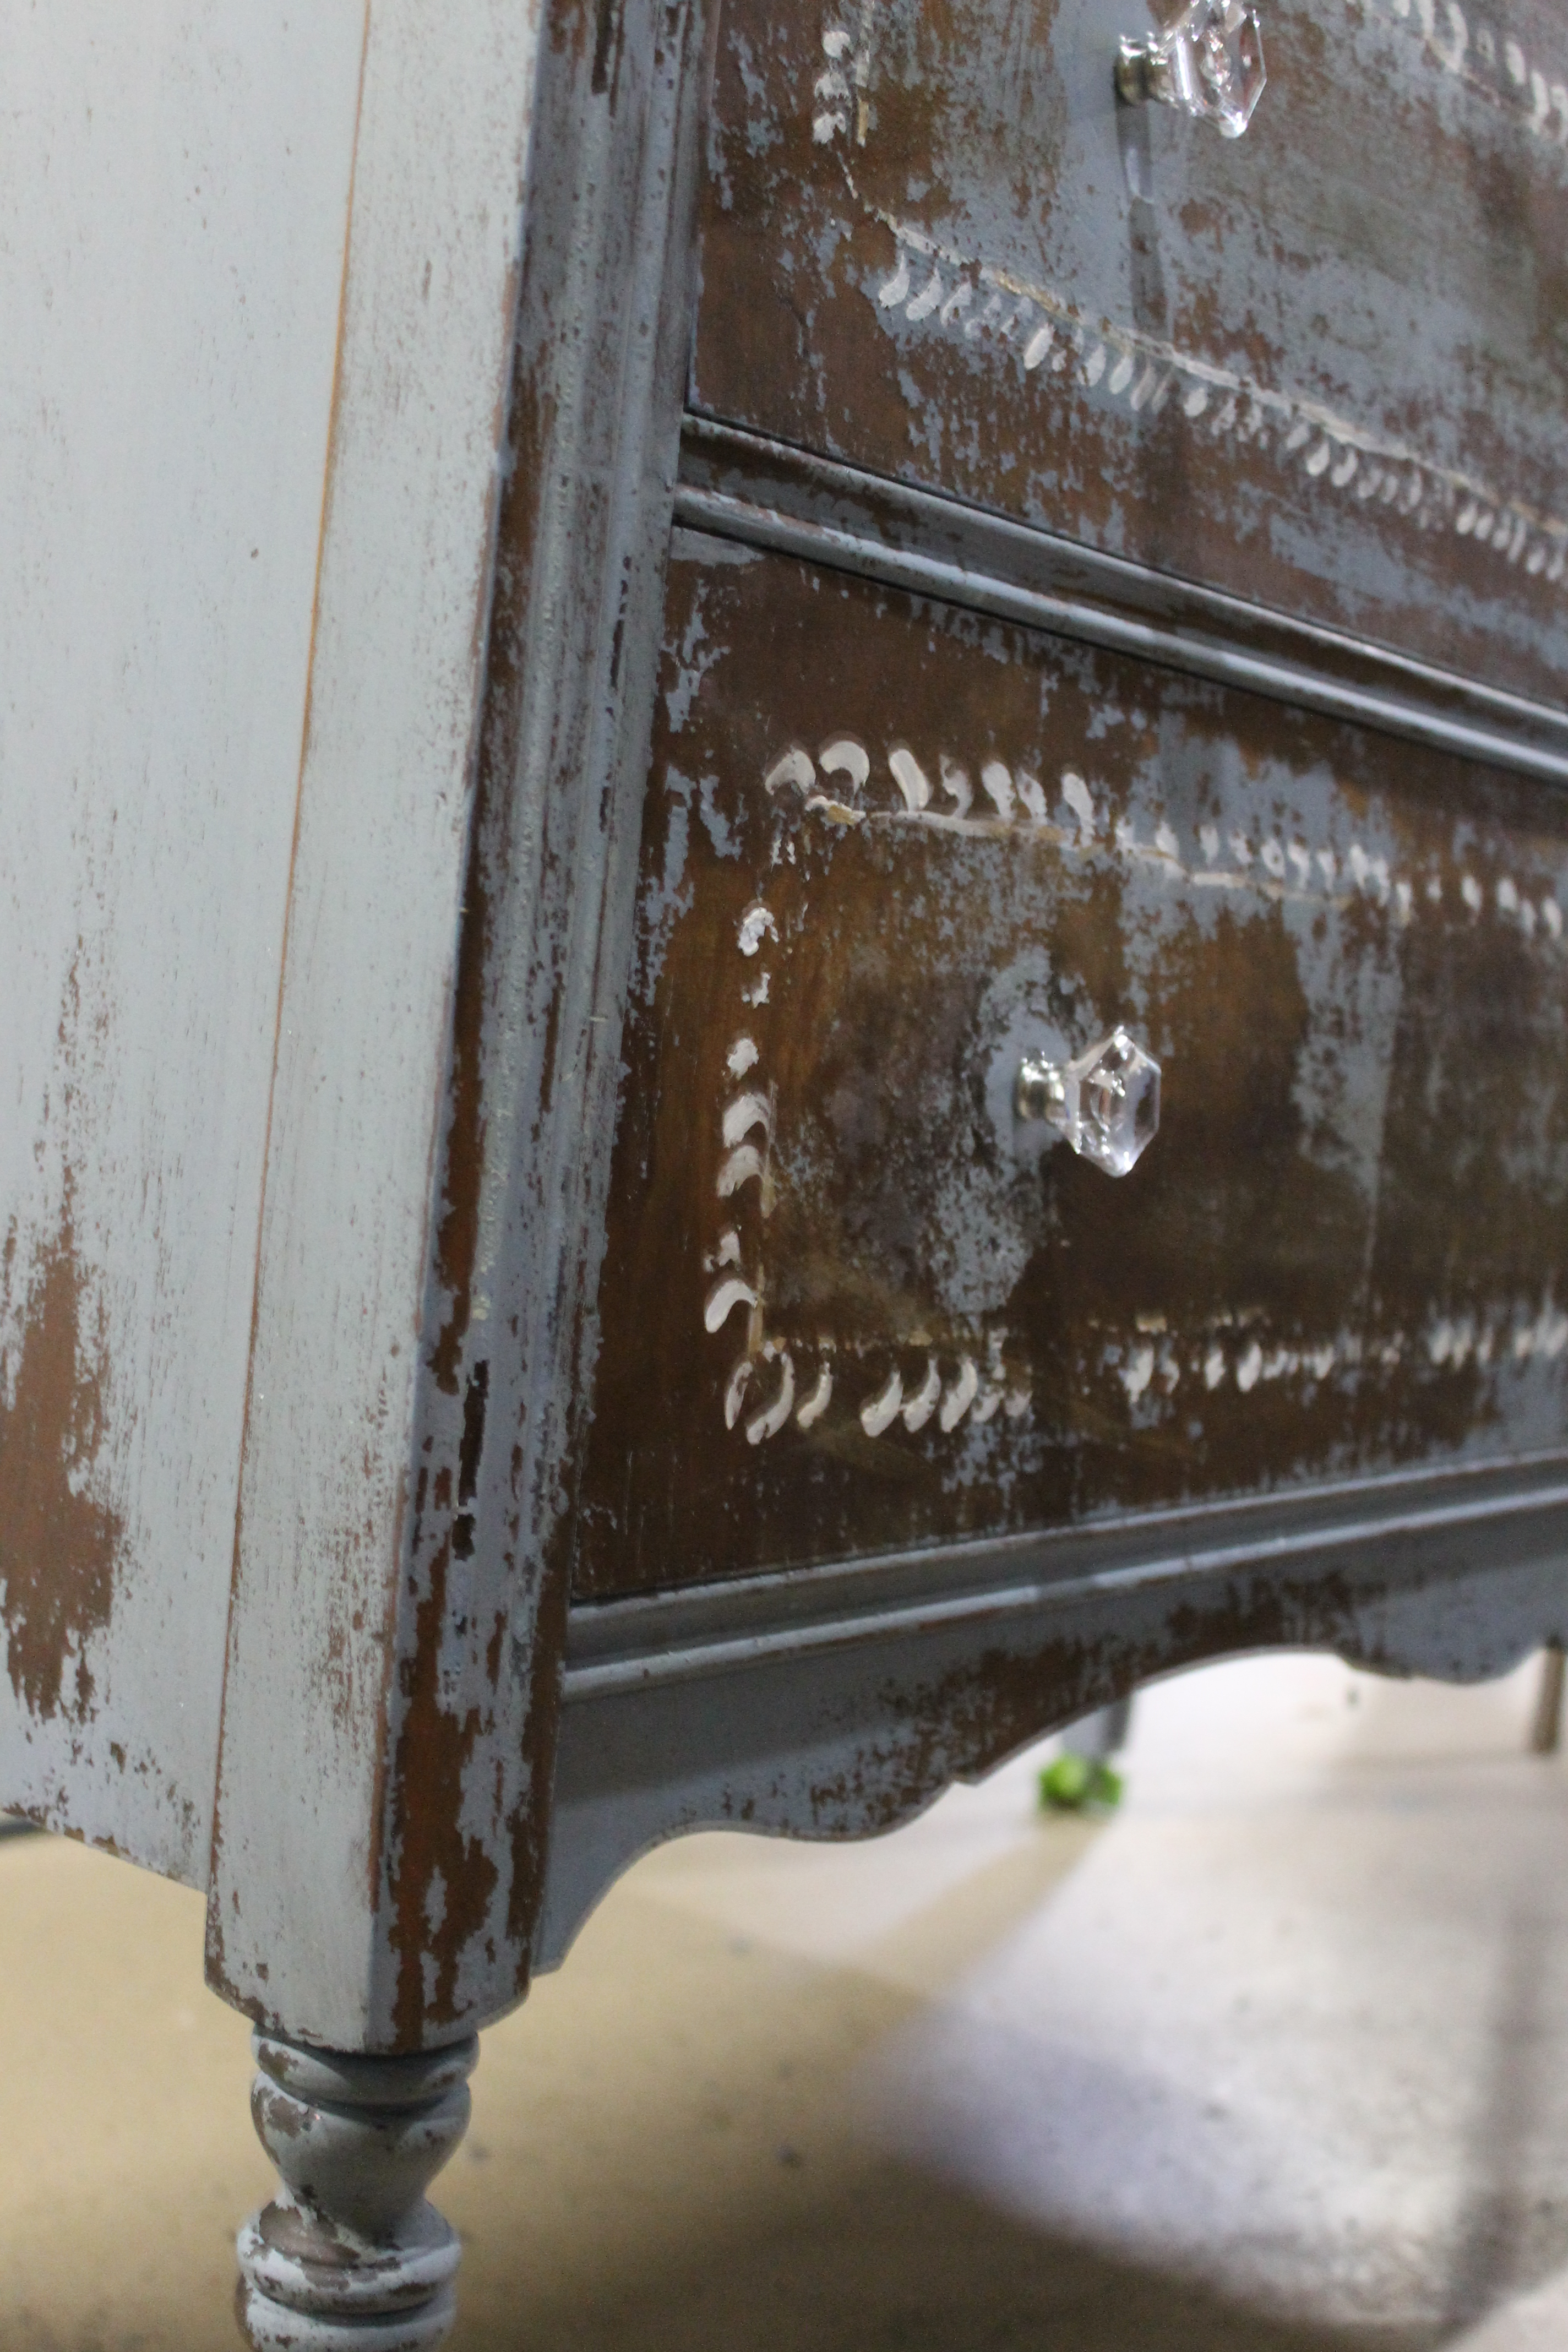
I begin doodling and mixing a white wash too , this piece is girlie. I love super chippy looks on pieces of furniture, I can show the beauty of the wood but still make the piece even beautiful with paint.  The Chippy look is not for every piece but this one for sure.

IMG_3330

I started by painting the drawers , sides and legs 2 coats dried lavender (no bonding agent).

IMG_3328

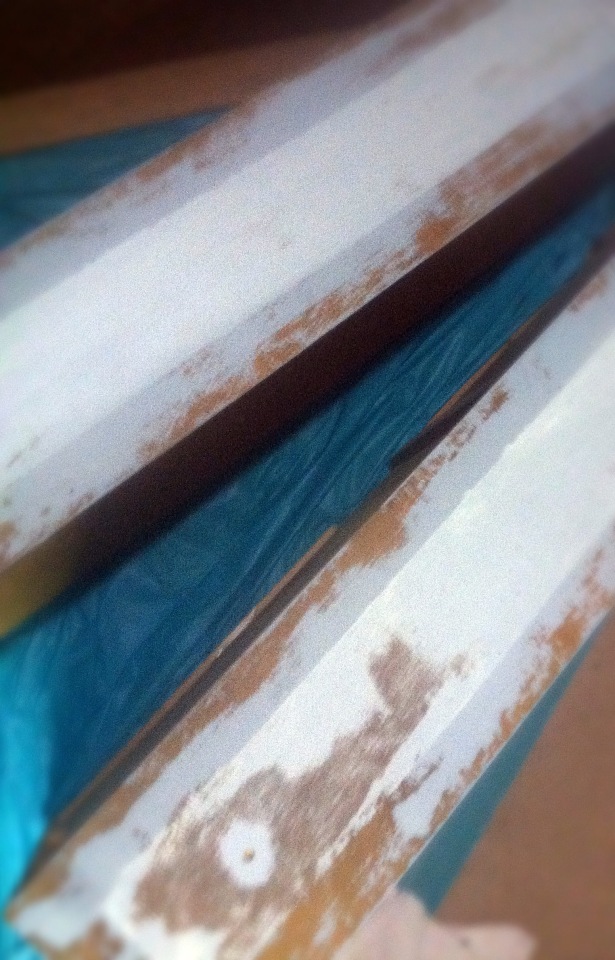
I then pulled out my Frog Tape ( love this stuff ). Got my white wash handy and went to work taping a boarder.

IMG_3331

I white washed just the center of the drawer. I love this look and I remember seeing this on MMS blog and made a mental note of the technique. I painted the wash on and then used a towel to wipe off. I painted right over the chippy paint.

IMG_3332

After it dried I took the frog tape off. It lifted some of the loose paint for me . Then  I used a spackling tool to gently scrape off rest of the loose paint.

IMG_3333

Next, I used some inexpensive paint brushes from a value pack at walmart , some acrylic paint and freehanded my design. I love the natural look you get and no I am not an artist (as you can tell), I just use simple shapes to make ( like I do with my sewing appliques). So anyone can do this , just a little practice.

IMG_3334

I used white acrylic paint and a antique gold acrylic paint to highlight.

IMG_3335Before I sanded I sealed with a Hemp oil. I did this for two reasons. One too add life back to the wood that I was leaving shown and two if you apply the hemp oil before you sand you get a buttery smooth finish. Even though the piece looks rough and chippy , its smooth to touch.

IMG_3337

I will be sure to post a picture when done. But here is a sneak….

IMG_3320

I still have the top to finish, I am stripping it and sanding it. Then I plan to use paint as a stain for the top. I will bes ure to share this technique and the finished product with you. I am looking for just the right jewelry y for her knobs as well, something with a little bling 😉

Isnt it funny how things simply just work out? You never know when inspiration is going to hit.

xoxo

Becky

Here is the inspiration behind this piece and how could these pictures not inspire you !?!

http://www.missmustardseedsmilkpaint.com/colors/